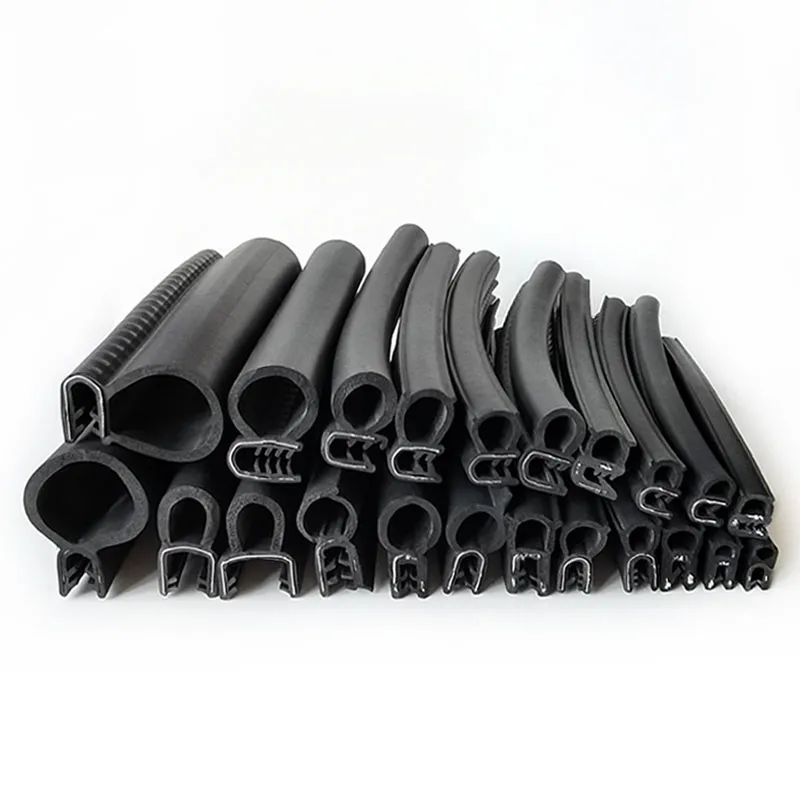
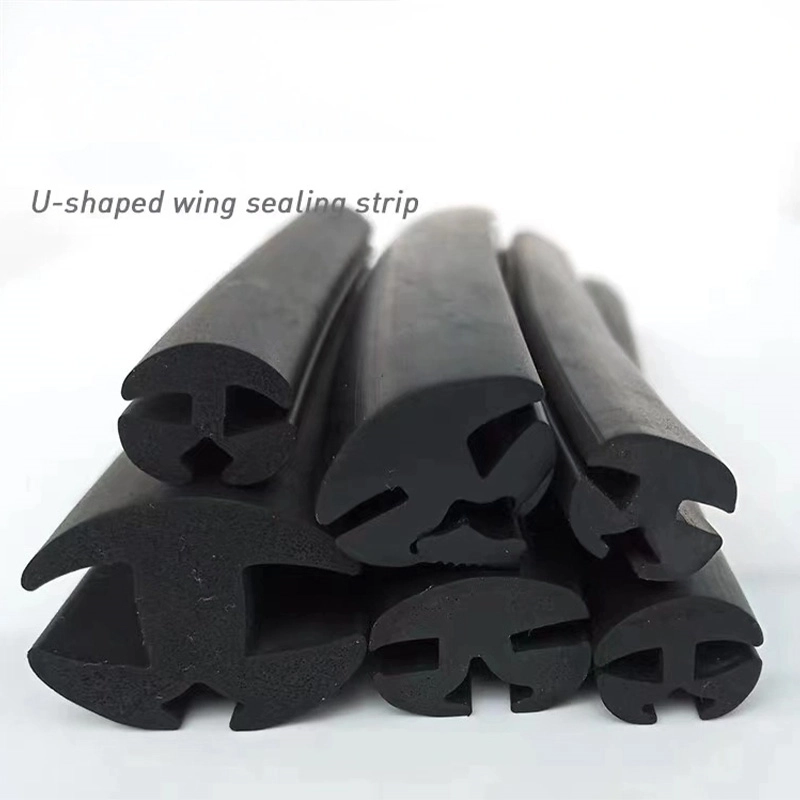
How to Install a New Bottom Door Seal for Better Insulation
Replacing the Bottom Door Seal A Comprehensive Guide
When it comes to maintaining the integrity and energy efficiency of your home, one often-overlooked component is the bottom door seal. This seemingly small part plays a significant role in keeping your living space comfortable and conserving energy. Over time, door seals can wear out, become damaged, or warp, leading to drafts, increased energy bills, and even potential water damage. In this article, we’ll explore the importance of the bottom door seal and provide a step-by-step guide on how to replace it efficiently.
Why Replace the Bottom Door Seal?
The bottom door seal acts as a barrier against outside elements. It helps to prevent air leaks, moisture, insects, and dust from entering your home. Here are a few reasons why it’s essential to replace a deteriorating door seal
1. Energy Efficiency A worn-out seal can let cold air in during winter and cool air out during summer, leading to higher heating and cooling costs. By replacing the seal, you improve your home’s energy efficiency, ultimately saving money on utility bills.
2. Comfort Drafts and cold spots can make your home uncomfortable. Replacing the bottom door seal can create a more consistent interior temperature.
3. Preventing Damage Water leaks from rain or snow can lead to mold and structural damage over time. A good seal protects your home from the elements.
4. Pest Control A damaged seal can be an invitation for pests to enter your home. Replacing it can help keep unwanted critters out.
How to Replace the Bottom Door Seal
Replacing the bottom door seal is a straightforward DIY project that you can accomplish with minimal tools
. Here’s a step-by-step guideStep 1 Gather Tools and Materials
You’ll need the following tools and materials - New door seal (available at hardware stores) - Measuring tape - Utility knife or scissors - Screwdriver (if necessary) - Cleaning cloth - Adhesive (if the seal requires it)
replacing bottom door seal

Step 2 Remove the Old Seal
Begin by inspecting the existing seal. If it’s nailed or screwed down, use a screwdriver or utility knife to remove it carefully. If it’s adhesive, gently pry it away using the utility knife. Take your time to avoid damaging the door.
Step 3 Clean the Area
Once the old seal is removed, clean the area thoroughly with a cloth to ensure there’s no debris or leftover adhesive. A clean surface is crucial for the new seal to adhere properly.
Step 4 Measure and Cut the New Seal
Use a measuring tape to determine the length of the bottom of the door. Cut the new seal to the appropriate length, ensuring it fits snugly against the door. Some seals come in rolls, so make sure to check the instructions provided by the manufacturer.
Step 5 Install the New Seal
Position the new seal along the bottom of the door. If it’s an adhesive seal, peel off the backing and press it firmly into place. Ensure it’s aligned correctly and has a tight fit. If it requires screws or nails, follow the manufacturer's instructions to secure it in place.
Step 6 Test the Seal
Once installed, close the door and check for any gaps. You should not feel any drafts. If everything seems well-fitted, you’ve successfully replaced the bottom door seal!
Conclusion
Replacing the bottom door seal can significantly enhance your home’s comfort and energy efficiency. With just a few tools and a bit of time, you can ensure that your home remains a safe and comfortable space. Regular maintenance of such components within your home can lead to long-term benefits and savings. Don’t overlook the importance of this simple yet effective home improvement task!
Share
-
The Versatility of Jute FabricNewsJun.12,2025
-
The Growing Appeal of Jute ProductsNewsJun.12,2025
-
The Future of Dog NutritionNewsJun.12,2025
-
Revolutionizing Cat Care with Innovative ProductsNewsJun.12,2025
-
Essential Files for Metalworking and Knife MakingNewsJun.12,2025
-
Eco-Friendly Cat Litter RevolutionNewsJun.12,2025


