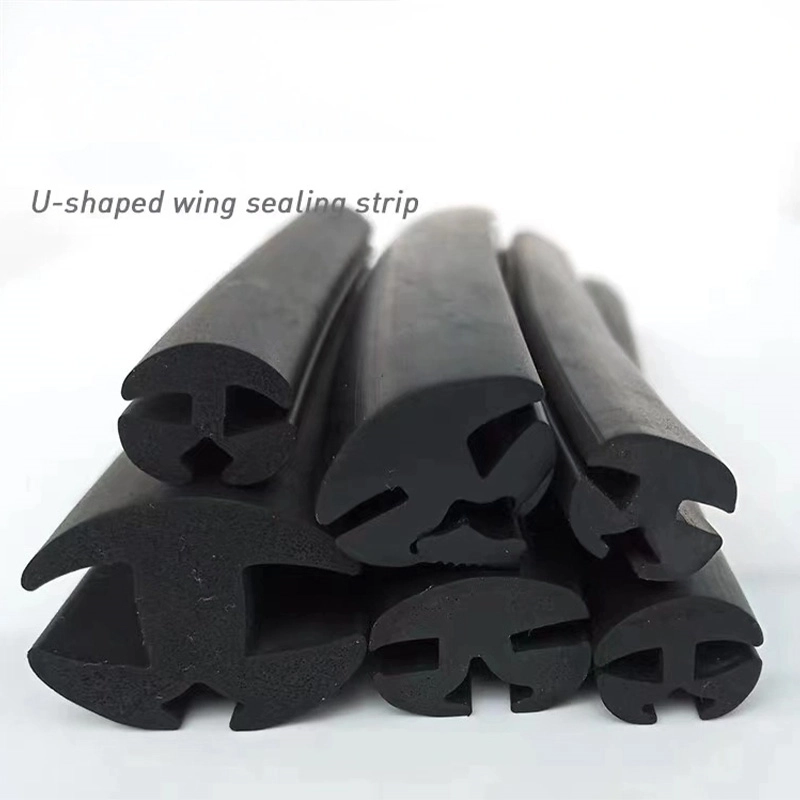
fitting shower door seal
Fitting Shower Door Seal A Comprehensive Guide
When it comes to maintaining a functional and aesthetically pleasing bathroom, one often overlooked component is the shower door seal. This essential element not only enhances the appearance of your shower but also plays a crucial role in preventing water leaks, thereby protecting your bathroom floor from potential water damage. If you are considering fitting a new shower door seal, this guide will walk you through everything you need to know.
Understanding the Importance of a Shower Door Seal
A shower door seal is a flexible strip that runs along the edges of your shower door. Its primary purpose is to create a watertight barrier between the shower door and the frame or wall. Over time, seals can wear out, crack, and lose their effectiveness, leading to water spilling out and making your bathroom wet and slippery. A good quality seal can also reduce noise from the shower and enhance energy efficiency by minimizing steam escape.
Choosing the Right Seal
Before diving into the installation process, it’s essential to choose the right shower door seal for your specific needs. Seals come in various materials, such as vinyl, rubber, and silicone, each with its own advantages. Vinyl is flexible and budget-friendly, while rubber and silicone offer durability and better performance in the long run. Additionally, seals are available in different shapes and sizes, so measuring your shower door correctly is vital.
To determine the appropriate size of the seal, measure both the width and height of your shower door when it is closed. Make sure to account for any contours or peculiar shapes of the door to ensure a snug fit.
Tools and Materials Needed
Installing a new shower door seal is a straightforward process that can usually be completed with a few basic tools
fitting shower door seal

1. New Shower Door Seal Ensure it is the correct size and type for your shower door. 2. Utility Knife or Scissors For trimming the seal to fit. 3. Measuring Tape To measure the door dimensions. 4. Cleaning Supplies Such as isopropyl alcohol and a cloth, to clean the door before installation. 5. Adhesive (if required) Some seals come with adhesive backing, while others may need a separate adhesive applied.
Installation Process
1. Preparation Start by removing the old shower door seal. If it’s glued on, carefully pry it away using your utility knife. Clean the area thoroughly to remove any residual adhesive and ensure a clean surface for attachment.
2. Measure and Cut Measure the length of the door where the new seal will be placed. Use your utility knife or scissors to cut the new seal to the correct length, ensuring a snug fit.
3. Apply the Seal Depending on the type of seal you have, peel off the adhesive backing and press the seal firmly onto the edge of the shower door. If your seal does not have adhesive, apply a thin bead of appropriate adhesive along the edge and press the seal into place.
4. Finish Up Allow any adhesive to cure as per the manufacturer’s instructions. Once set, conduct a test run by running the shower and checking for leaks. Adjust the seal as necessary.
Conclusion
Fitting a shower door seal is a simple yet impactful task that can significantly improve your shower's functionality and aesthetics. By selecting the right seal and following these steps, you can ensure your bathroom remains dry and safe, and you’ll enjoy a more pleasant showering experience. Regular maintenance will not only prolong the life of your shower door seal but will also preserve the integrity of your bathroom for years to come.
Share
-
The Best Lubricants for Aluminum Roller GuidesNewsJul.23,2025
-
Slitting Machine Applications in the Packaging IndustryNewsJul.23,2025
-
Rolling Roller Balancing Techniques for Smooth OperationNewsJul.23,2025
-
How To Optimize An EV Battery Assembly LineNewsJul.23,2025
-
Energy Efficiency in Modern Battery Formation EquipmentNewsJul.23,2025
-
Automation Trends in Pouch Cell Assembly EquipmentNewsJul.23,2025


