replacing weather stripping under door
Replacing Weather Stripping Under Doors A Comprehensive Guide
Weather stripping might seem like a minor detail, but it plays a vital role in maintaining the comfort, energy efficiency, and aesthetic appeal of your home. One of the most crucial areas where weather stripping is needed is under exterior doors. Over time, the weather stripping can wear out or become damaged, allowing drafts, moisture, and pests to enter your living space. Here’s a comprehensive guide on how to effectively replace weather stripping under your doors.
Understanding Weather Stripping
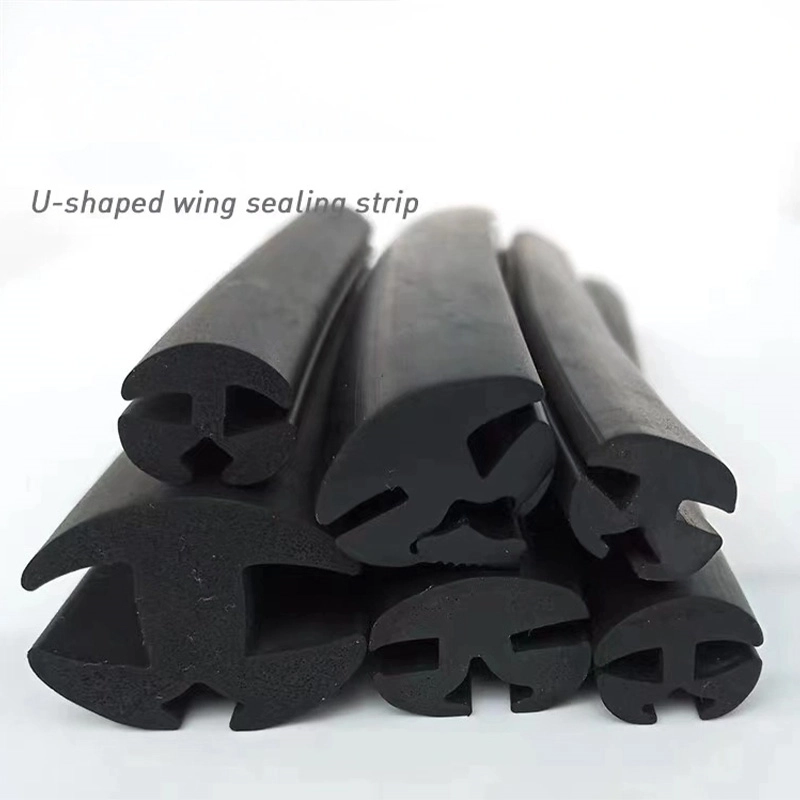
Weather stripping is a material used to seal the gaps around doors and windows to block air, moisture, and noise. It can be made from various materials, including rubber, foam, metal, and vinyl. The type of weather stripping you choose depends on the specific requirements of your door, including the size of the gap and the environmental conditions in your area.
Signs You Need to Replace Weather Stripping
Before you begin the replacement process, it's essential to recognize the signs that indicate your weather stripping needs attention
1. Visible Damage Look for cracks, tears, or frayed edges in the weather stripping material. 2. Drafts If you feel cold air coming from under the door, it’s a clear sign that the sealing isn’t effective. 3. Increased Energy Bills Inefficient weather stripping can cause your heating and cooling systems to work harder, leading to higher energy costs. 4. Water Damage If you notice water being able to seep under the door after rain, replacing the weather stripping can prevent further damage.
Materials and Tools Needed
To replace the weather stripping, gather the following tools and materials
- New weather stripping (select based on your door gap and preference) - Measuring tape - Utility knife or scissors - Screwdriver (if needed) - Cleaning cloth - Adhesive (if your weather stripping requires it)
Step-by-Step Replacement Process
Step 1 Remove Old Weather Stripping
Begin by removing the existing weather stripping. This can usually be done by gently pulling it off if it is adhesive-based. If it is attached with staples or screws, use the screwdriver or utility knife to detach it carefully. Make sure to clean the surface where the old weather stripping was attached to ensure a good seal for the new material.
replacing weather stripping under door

Step 2 Measure the Door Gap
Using a measuring tape, measure the length of the area where the weather stripping will be installed. It's essential to get accurate measurements to avoid buying too much or too little material.
Step 3 Cut the New Weather Stripping
Based on your measurements, cut the new weather stripping to fit the length of the door. If you’re using a roll of adhesive weather stripping, make sure to cut consistently to ensure that both sides are evenly matched for a proper seal.
Step 4 Install the New Weather Stripping
For adhesive weather stripping, peel off the backing and carefully press it into place along the bottom of the door. Ensure it sits flat against the surface and does not impede the door's movement. If using nail-on or screw-on weather stripping, position it correctly and secure it with nails or screws.
Step 5 Test the Seal
Once the new weather stripping is in place, close the door and check for drafts. You can use a candle or a piece of paper to detect any airflow. If you notice any gaps, re-adjust the weather stripping or add extra material as needed.
Step 6 Regular Maintenance
To ensure longevity, regularly inspect the weather stripping for signs of wear and tear. Cleaning the area and removing debris can also help maintain a proper seal and enhance the material’s lifespan.
Conclusion
Replacing the weather stripping under your door is a simple yet effective way to increase your home’s energy efficiency and comfort. By addressing this often-overlooked detail, you can create a more welcoming environment while minimizing drafts and moisture. With just a few tools and materials, you can enhance the performance of your doors and enjoy a more comfortable home year-round. Whether you take on this project yourself or hire a professional, ensuring your home is properly sealed can lead to significant benefits in the long run.
Share
-
The Best Lubricants for Aluminum Roller GuidesNewsJul.23,2025
-
Slitting Machine Applications in the Packaging IndustryNewsJul.23,2025
-
Rolling Roller Balancing Techniques for Smooth OperationNewsJul.23,2025
-
How To Optimize An EV Battery Assembly LineNewsJul.23,2025
-
Energy Efficiency in Modern Battery Formation EquipmentNewsJul.23,2025
-
Automation Trends in Pouch Cell Assembly EquipmentNewsJul.23,2025


