When cold weather arrives, the one place you don't want it to visit is inside your home. Exterior doors are critical spots that permit cold air to migrate indoors.
If drafts are leaking around and under your door, it might seem like you need a new door, but maybe not. Door weather stripping has a limited lifespan and is meant to be replaced every few years. If you know how to install weather stripping on a door, you can increase your indoor comfort, plus save a substantial amount of energy and money.
Where to Install Weather Stripping on a Door
The three areas of the exterior door where you may want to install weather stripping are around the interior side of the door casing, on the exterior side of the door casing, and on the interior side bottom of the door.
Interior Side Door Casing
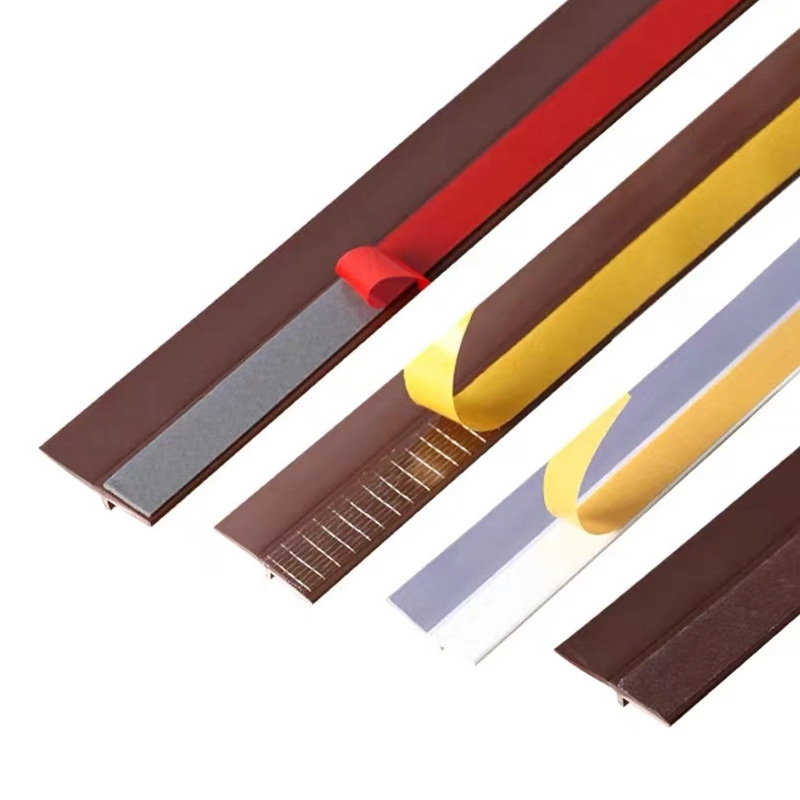
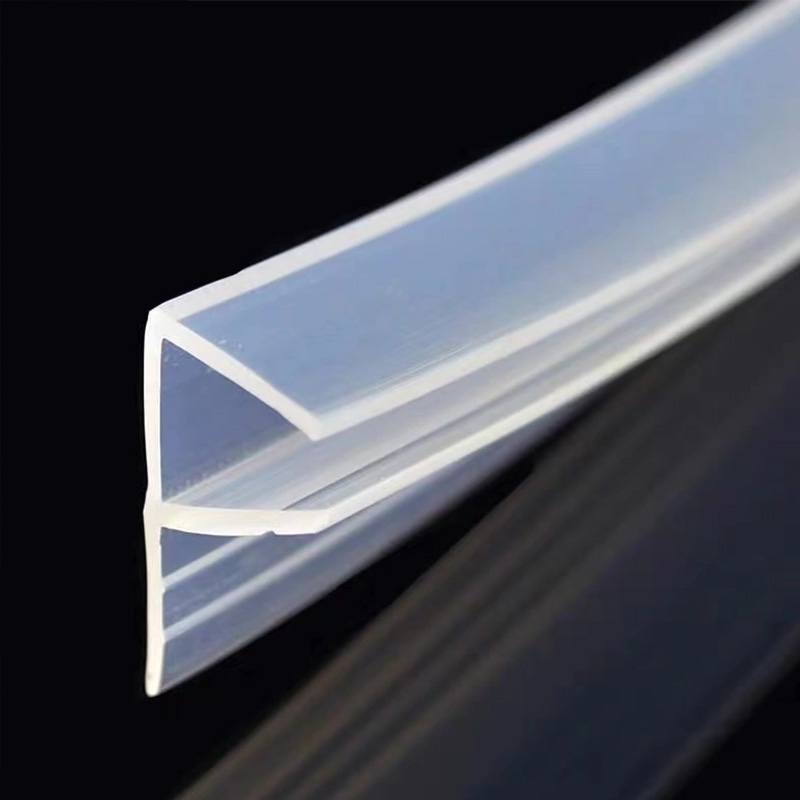
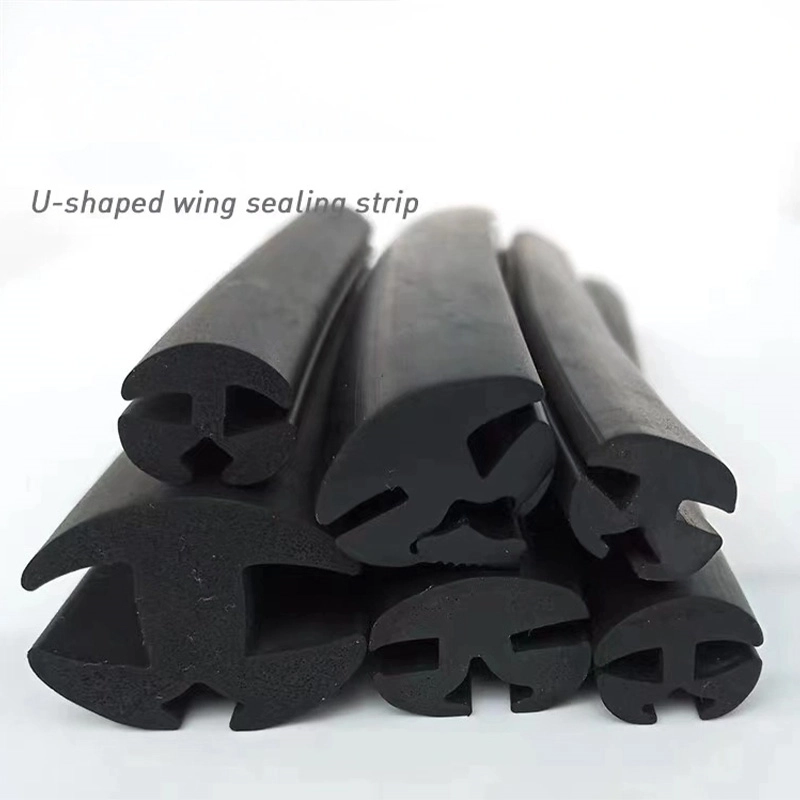
The inside of the door casing has a kerf, or pre-cut slit, that accepts a set of S-shaped weather stripping. Choose from several types: vinyl-coated foam stripping for economy, rubber stripping for durability and better sealing, or magnetic stripping for steel doors. Kerf door jamb weather stripping wears over time and can affect the air quality in your home. Check for wear and that it's still providing a good seal, and replace as needed.
Exterior Side Door Casing
The outside of the door casing sometimes has compression weather stripping. When the door is closed, it presses against the weather stripping, creating a tight seal that keeps out moisture and insects. Not all doors have this type of casing, but many homeowners find them to be valuable supplements.
Interior Bottom of Door
A door sweep attaches to the inside bottom of the door's interior, and it's effective at blocking drafts under the door. Choose either a reinforced solid rubber or a brush-style sweep with bristles. Door sweeps are easy to install because they attach to the face of the door.
What You'll Need
Instructions
-
Remove Old Weather Stripping
- Interior door casing: Use needle-nose pliers to grab an end of the old kerf weather stripping and pull straight out to remove.
- Exterior door casing: Compression weather stripping on the outside is attached either with nails or screws. For nails, use the claw end of the hammer to pry off the weather stripping. For screws, unscrew with the drill or a manual screwdriver.
- Interior bottom of door: With the drill or screwdriver, turn the screws on the door sweep counter-clockwise to remove.
-
Install Kerf Door Jamb Weather Stripping
Use the tape measure to measure the left and right vertical distances of the door jamb. Measure both sides separately. Cut the kerf door jamb weather stripping with scissors. Press the weather stripping into the kerf. Measure the top horizontal section. Cut the weather stripping to size. Press the top weather stripping into place.
-
Install Door Weather Stripping on Exterior
Go outside and close the door behind you. Make sure that it is firmly shut. Measure the vertical distance between the door threshold (on the floor) and the top of the door casing. Measure both sides. Cut the two long strips from the kit accordingly. Use the hacksaw to cut the metal and use the scissors to cut the attached vinyl weather stripping.
Place the hinge-side strip on the door casing and compress the vinyl against the door. Using the provided screws, screw the strip into place. Repeat the previous step on the latch side of the door. Measure the short horizontal strip, from side to the opposite side. It should fit tightly against the two side pieces. Press the top strip against the door and screw it into place.
-
Install Door Sweep
Measure the width of the door. Mark the measurement on the door sweep. Cut the metal part of the door sweep with the hacksaw. Finish by snipping the soft part with the scissors. Close the door. Press the door sweep against the door, so that the soft part flexes against the threshold to create a seal. Center the screws in the door sweep's slotted holes and screw into place. Test the door swing. If needed, adjust the door sweep by loosening the screws and sliding the sweep up or down.
When to Call a Professional
If installing weather stripping on the door doesn't prevent drafts, the door may be misaligned in the doorway. The door frame may need to be rebuilt, a job for an experienced carpenter. If the door and door frame are in poor condition, you may want to replace both with a pre-hung exterior door.


