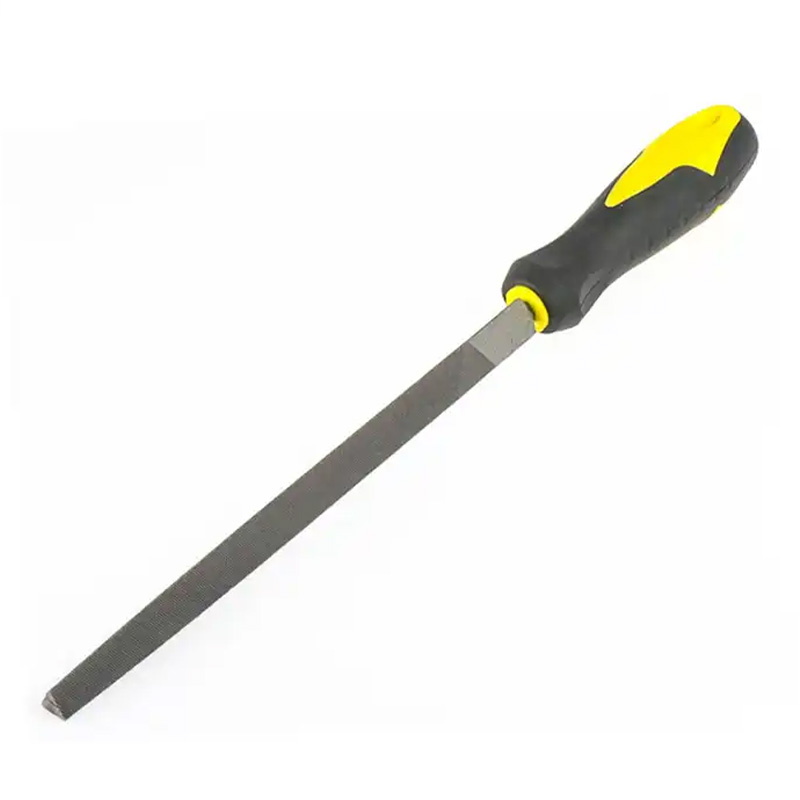
installing door weather stripping
Installing Door Weather Stripping A Step-by-Step Guide
Weather stripping is an essential component in maintaining a comfortable and energy-efficient home. By sealing gaps and cracks around doors, weather stripping prevents drafts, moisture, and noise from entering your living space. This not only enhances comfort but also reduces energy costs by improving heating and cooling efficiency. If you’re looking to install door weather stripping, follow this comprehensive guide to ensure a successful and long-lasting application.
Materials Needed
Before you begin, gather the necessary materials
1. Weather stripping material (foam, V strip, or rubber) 2. Scissors or a utility knife 3. Measuring tape 4. Caulk or adhesive (if required) 5. Clean cloth 6. Pencil or marker
Step 1 Measure the Door
Start by measuring the door frame to determine how much weather stripping material you will need. Use a measuring tape to measure the height and width of the door on both sides, as well as the top. Record these measurements so you can purchase the appropriate amount of weather stripping.
Step 2 Choose the Right Weather Stripping
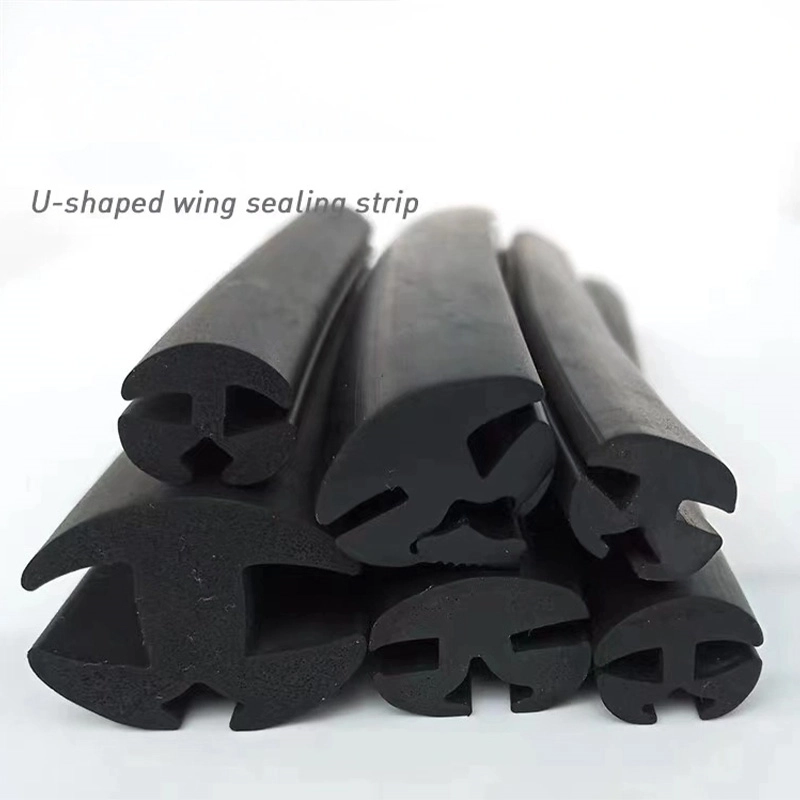
There are various types of weather stripping, including foam tape, V strip, and silicone or rubber seals. Consider the climate in your area and the specific gaps in your door frame when selecting the best material. For instance, foam tape is effective for small gaps, while V strip works well for larger spaces.
Step 3 Prepare the Door Frame
Before applying the weather stripping, clean the door frame thoroughly. Use a clean cloth to remove dust, dirt, and any old weather stripping that may be present. A clean surface ensures better adhesion and extends the life of the weather stripping.
installing door weather stripping

Step 4 Cut Weather Stripping to Size
Using your measurements, cut the weather stripping material to fit the sides and top of the door frame. Make sure to cut the pieces slightly longer than necessary for a snug fit. This allows for adjustments during installation.
Step 5 Install the Weather Stripping
Start installing the weather stripping at the top of the door frame. If you’re using adhesive-backed weather stripping, peel the backing off and press it firmly in place, ensuring a tight seal. If your weather stripping requires adhesive or caulk, apply it evenly on the back before pressing it into position.
Continue this process for the sides of the door frame. Ensure that the weather stripping adheres well and is not gathered or wrinkled. For V strip and similar materials, make sure they are positioned at an angle that allows for proper sealing when the door is closed.
Step 6 Test the Door
Once the weather stripping is installed, close the door and check for any remaining gaps. You may want to perform a light test with a flashlight by shining it around the edges of the door to ensure no light seeps through. If you notice any gaps, adjust the weather stripping as needed or add additional material.
Step 7 Regular Maintenance
Lastly, remember to regularly inspect your weather stripping for wear and tear. Over time, exposure to elements can degrade its effectiveness. Replacing worn weather stripping can help maintain your home’s energy efficiency and comfort.
In conclusion, installing door weather stripping is a straightforward process that can significantly enhance your home’s comfort and efficiency. By following these steps, you can ensure a proper seal, keeping drafts and moisture at bay while saving on energy costs. Take the time to invest in this simple yet effective improvement for your home!
Share
-
The Best Lubricants for Aluminum Roller GuidesNewsJul.23,2025
-
Slitting Machine Applications in the Packaging IndustryNewsJul.23,2025
-
Rolling Roller Balancing Techniques for Smooth OperationNewsJul.23,2025
-
How To Optimize An EV Battery Assembly LineNewsJul.23,2025
-
Energy Efficiency in Modern Battery Formation EquipmentNewsJul.23,2025
-
Automation Trends in Pouch Cell Assembly EquipmentNewsJul.23,2025


