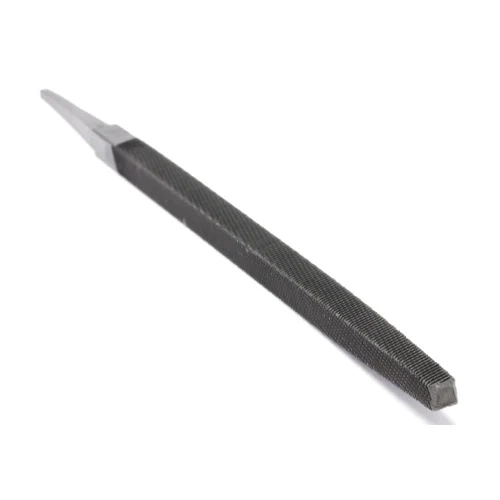
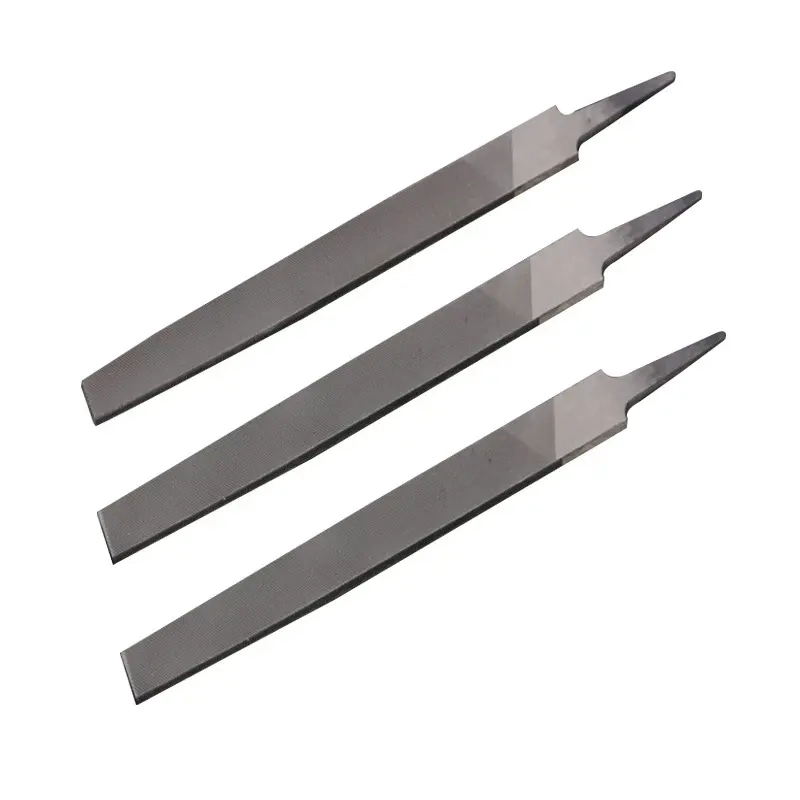
Round Metal File – Precision, Durable, Multiple Sizes
The Practical Guide to Choosing and Using a round metal file
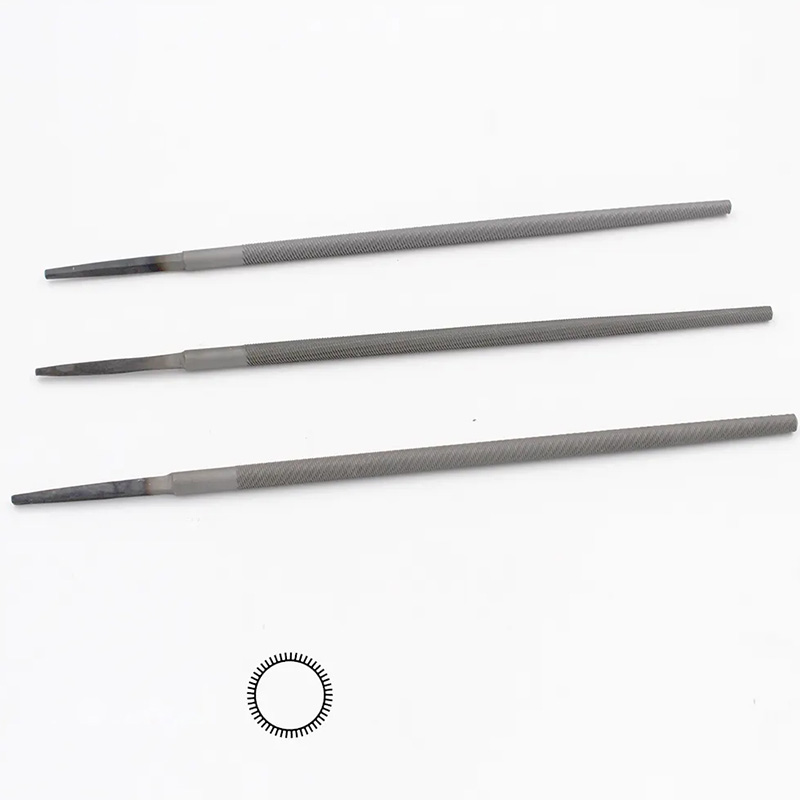
If you work in metal fabrication, maintenance, even sculpture—there’s a quiet hero in your toolkit. To be honest, I didn’t fully appreciate it until I started visiting small shops across Hebei: the round metal file. It’s the one you grab to true up a drilled hole, chamfer a pipe ID, or smooth a tricky concave. Simple tool, serious results.
What’s trending in files right now
Two things: better heat treatment for longer life, and finer, more consistent tooth geometry. Actually, many customers say they’re buying fewer cheap sets and opting for one or two premium round metal files that cut faster and last longer. Coated surfaces (black oxide, anti-rust oil) are also back in fashion for shop environments with coolant mist.
Quick specs (real-world use may vary)
| Product name | Round file products |
| Typical steel | High-carbon tool steel (e.g., T12/W1), optional Cr-V |
| Hardness | ≈ HRC 60–66 (ISO 6508-1 test) |
| Cut | Single-cut or double-cut; bastard / second / smooth |
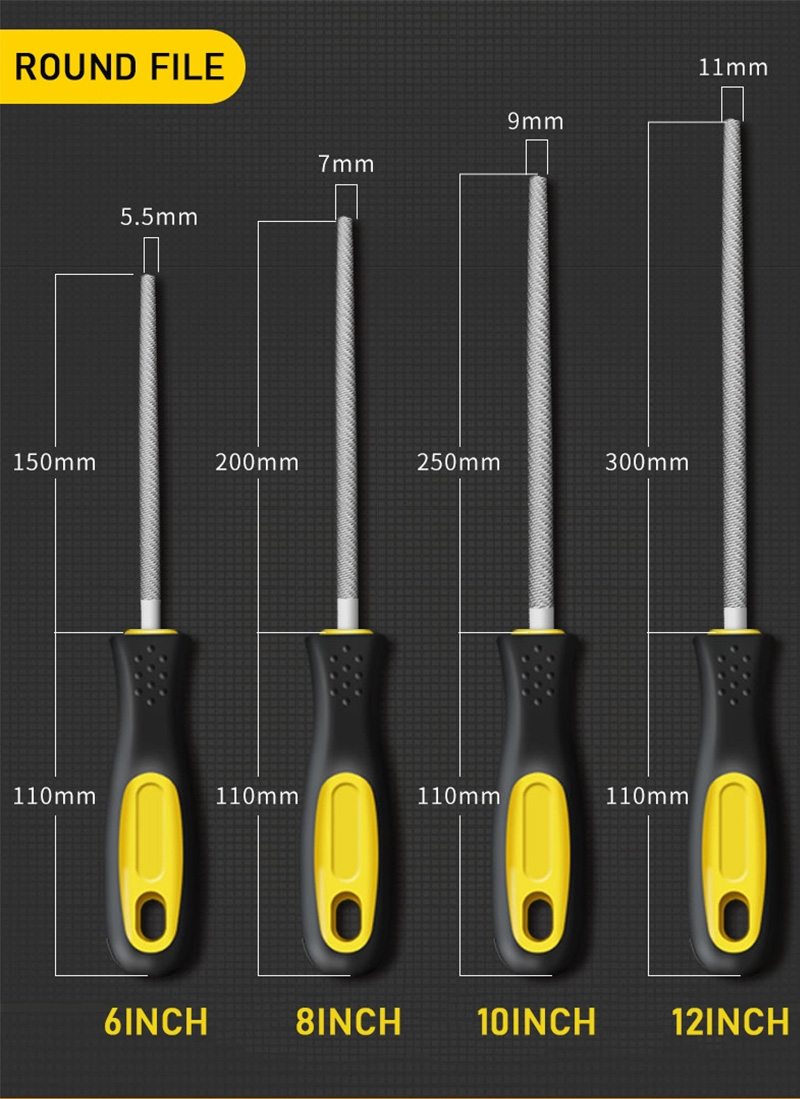
| Diameter | ≈ 3–16 mm |
| Length | 140–350 mm (tang not included) |
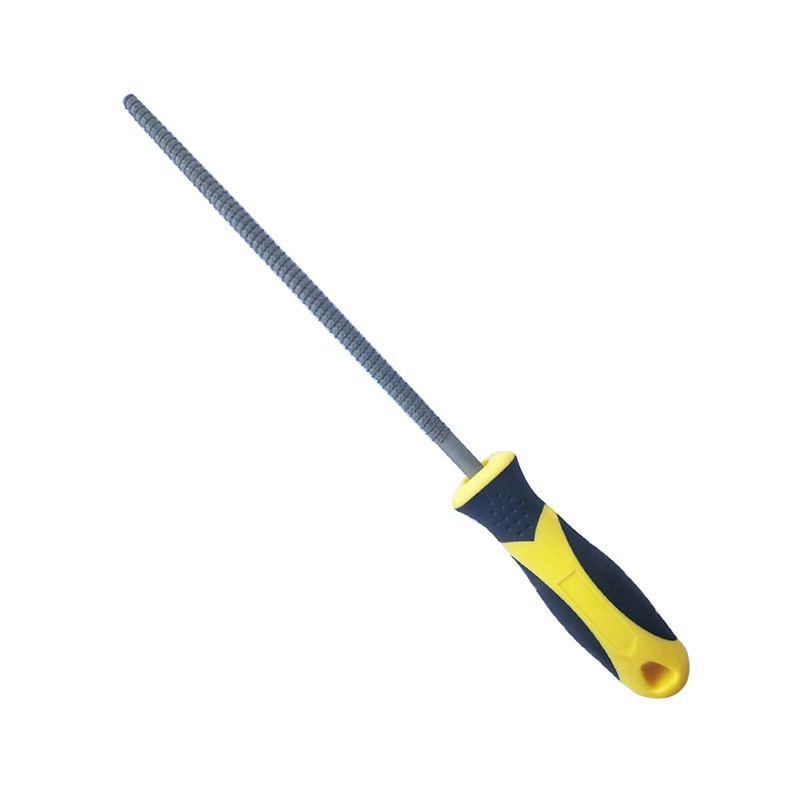
| Handle | Tang for wooden or PP/TPR handle; optional ergonomic grip |
| Finish | Untreated, black oxide, or rust-inhibiting oil |
| Standards | ISO 234-1/2 for files & rasps; factory ISO 9001 QMS |
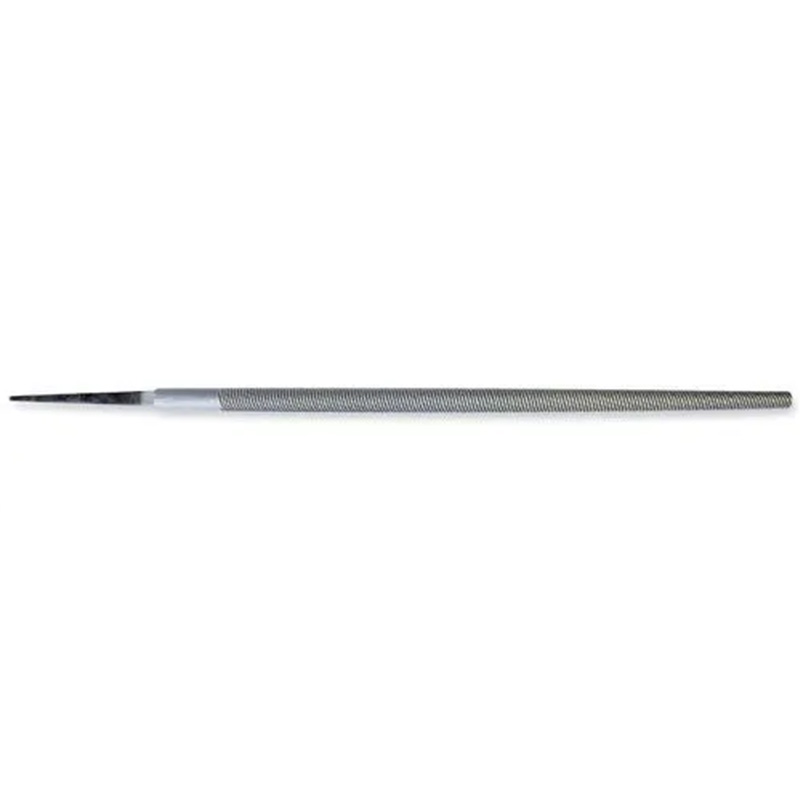
How it’s made (short version)
- Materials: high-carbon tool steel bars cut to length.
- Forming: rod turned/ground to taper; tang forged.
- Toothing: machine-cut single or double chisel pattern.
- Heat treatment: austenitize, quench, temper to HRC 60–66.
- Finishing: deburr, straighten, apply coating, print spec.
- Testing: hardness per ISO 6508-1; tooth uniformity by visual and profilometer spot-check; dimensional checks per ISO 234-1.
Service life? With proper pressure (let the teeth cut), correct stroke, and a file card for cleaning, you’ll get months to years. In heavy fab shops, I hear “6–12 months” of daily duty; hobbyists report “basically forever.”
Where it shines
Rounding/enlarging holes, deburring ID of tubing, smoothing concave features, creating semicircular grooves, even sculpting (those narrow points are gold). Industries: MRO, pipeline and HVAC, mold repair, automotive, locksmithing, instrument making, and yes—art studios.
Vendor snapshot (I compared notes so you don’t have to)
| Vendor | Steel / Hardness | Cut options | Lead time | Certs | Notes |
|---|---|---|---|---|---|
| XT Shuoding (Xingtai, Hebei; Room 1410, No. 119 Zhongxing East St., Xiangdu) | T12/W1 ≈ HRC 60–66 | Single/Double; bastard/second/smooth | Around 10–20 days | ISO 9001 (factory) | Solid value; customization friendly |
| EU Brand A | Alloy tool steel; HRC 60–65 | Wide | Stock to 30 days | ISO 9001 | Premium pricing |
| Budget Import B | Carbon steel; HRC 55–60 | Basic | 15–35 days | — | Lower cost, shorter life |
Customization and real-world feedback
Options include custom diameters, extended tangs for powered filing, anti-slip TPR handles, and laser-etched SKUs for tool control. One maintenance manager told me their round metal file with double-cut “eats mild steel burrs like breakfast,” while a luthier preferred smooth-cut for feel. Different jobs, different teeth.
Test data and handling tips
Shop tests (mild steel plate, 10 strokes, 30 N pressure) showed material removal of ≈ 0.12–0.18 g with a bastard-cut round metal file; smooth-cut ≈ 0.05–0.08 g. Your mileage will vary with technique and alloy.
- Use the full stroke; don’t “saw.”
- Lift on return to save the teeth.
- Chalk the file to reduce pinning; clean with a file card.
- Store dry; light oil prevents rust.
Case in point: A pipeline contractor enlarged pilot holes in schedule 40 pipe on-site—no power allowed. A 200 mm double-cut piece saved rework time by ≈ 25% versus a worn rotary burr, according to the foreman. Small tool, big win.
Certifications and standards to look for
Factory ISO 9001, hardness verification per ISO 6508-1, and dimensional/toothing checks aligned with ISO 234-1/2. If you see those on the data sheet, that’s a good sign.
Citations
- ISO 234-1: Files and rasps — Part 1: Dimensions. International Organization for Standardization.
- ISO 6508-1: Metallic materials — Rockwell hardness test. International Organization for Standardization.
- Machinery’s Handbook, latest ed., Industrial Press: File types, cuts, and applications.
- ISO 9001: Quality management systems — Requirements. International Organization for Standardization.
Share
-
Eco Friendly Drawstring Jute Bag Guide for Sustainable PackagingNewsApr.16,2026
-
Elegant Wedding Jute Bags for Sustainable and Rustic Event PackagingNewsApr.09,2026
-
Sustainable Jute Bags for Coffee Packaging and Branding SolutionsNewsApr.07,2026
-
Explore the Benefits of Sustainable Saran Jute Bags for Your BusinessNewsApr.04,2026
-
Sustainable Jute Soap Bags Packaging Solutions for Eco Friendly BrandsNewsMar.31,2026
-
Discover the EcoFriendly Charm of Jute Favor Bags for Every OccasionNewsMar.28,2026
