How To Fit Kitchen Plinth Onto Plastic Adjustable Legs
Fitting a kitchen plinth can be one of those tasks that seem complicated but, in actuality, can be tackled quite effectively with some patience and the right tools.
Not only does a well-fitted plinth elevate the aesthetic of your kitchen, but it also conceals any unsightly elements such as adjustable legs and cables.
This guide aims to walk you through the entire process, from measuring your base units to actually fitting the plinths. Let's dive in!
Tools Needed to Fit A Kitchen Plinth
- Tape Measure
- Pencil
- Carpenters Square
- Mitre Saw or another sharp cutting tool
- Jigsaw or Scribing tool (if needed for uneven floors)
- Plinth clips (usually supplied with the plastic legs)
- Connector blocks or Wood Blocks (for corner installations)
- Small tool or rod for plinth removal
- Plinth Sealing strips (optional)
Attaching Plinths to The Plastic Legs
Step 1
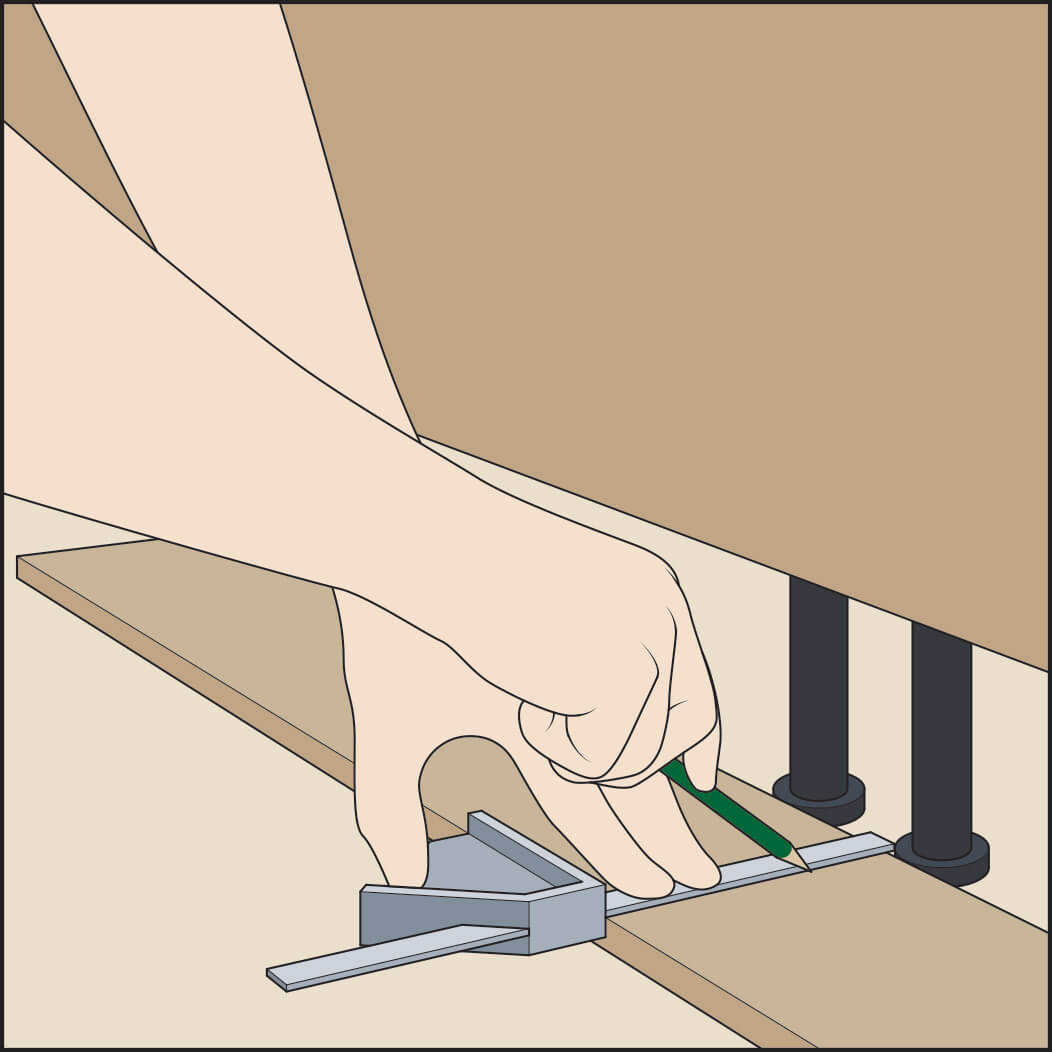
Start by placing your cut plinth in front of the plastic adjustable legs. Ensure the back is facing upwards. Using a square, strike a pencil line in the centre of each leg.
Step 2

Multiple Legs: Continue this marking process for each leg where the plinth will attach.
Step 3
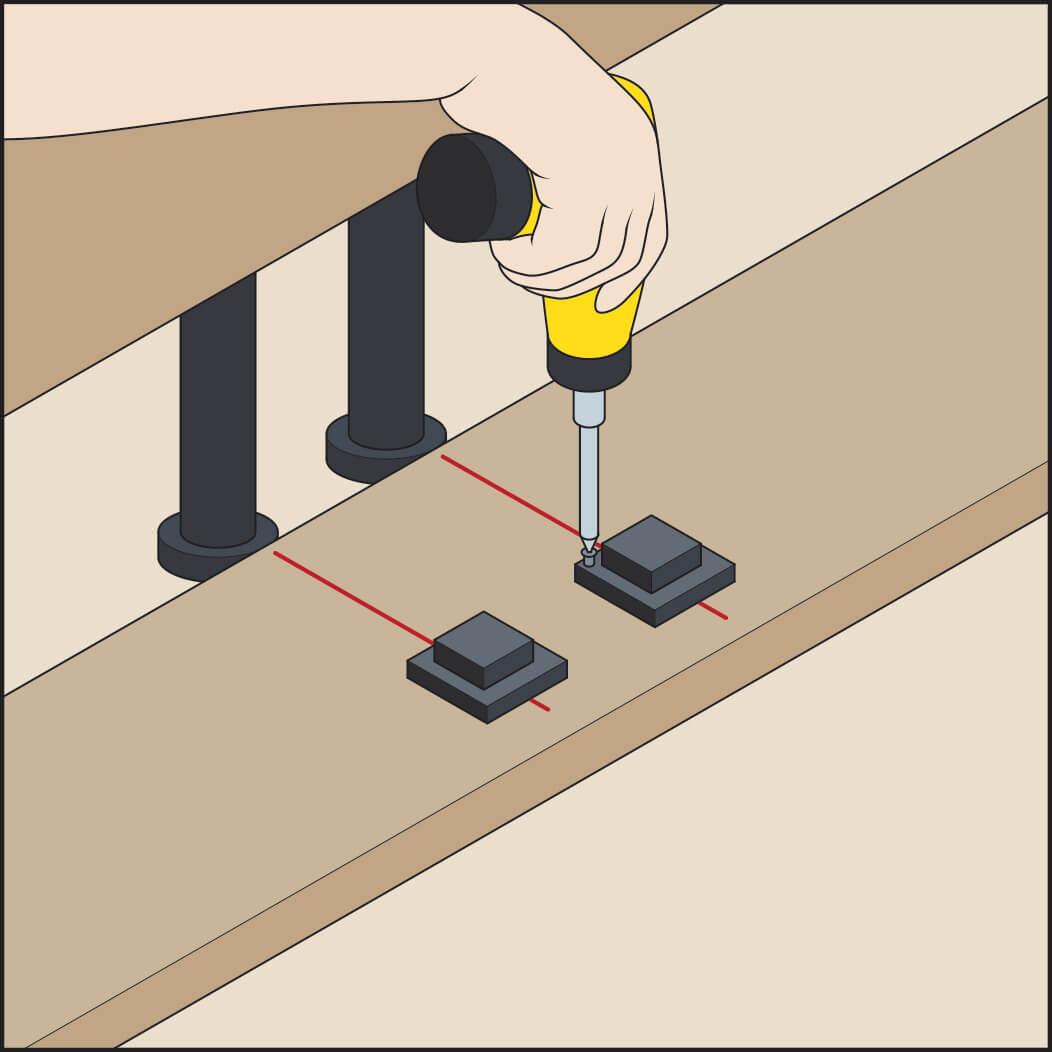
Attach the plinth clip plates approximately 50mm from the top, aligned with the pencil marks. These plates should allow the horse-shoe section of the clip to slide from left to right.
Step 4
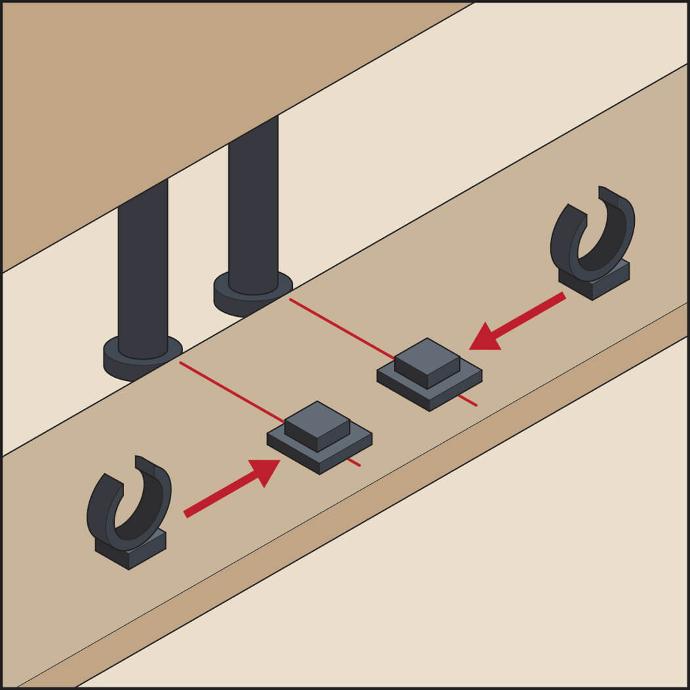
Slide the horse-shoe section of the clips into the plates. They should be able to slide left to right for easier positioning.
Step 5
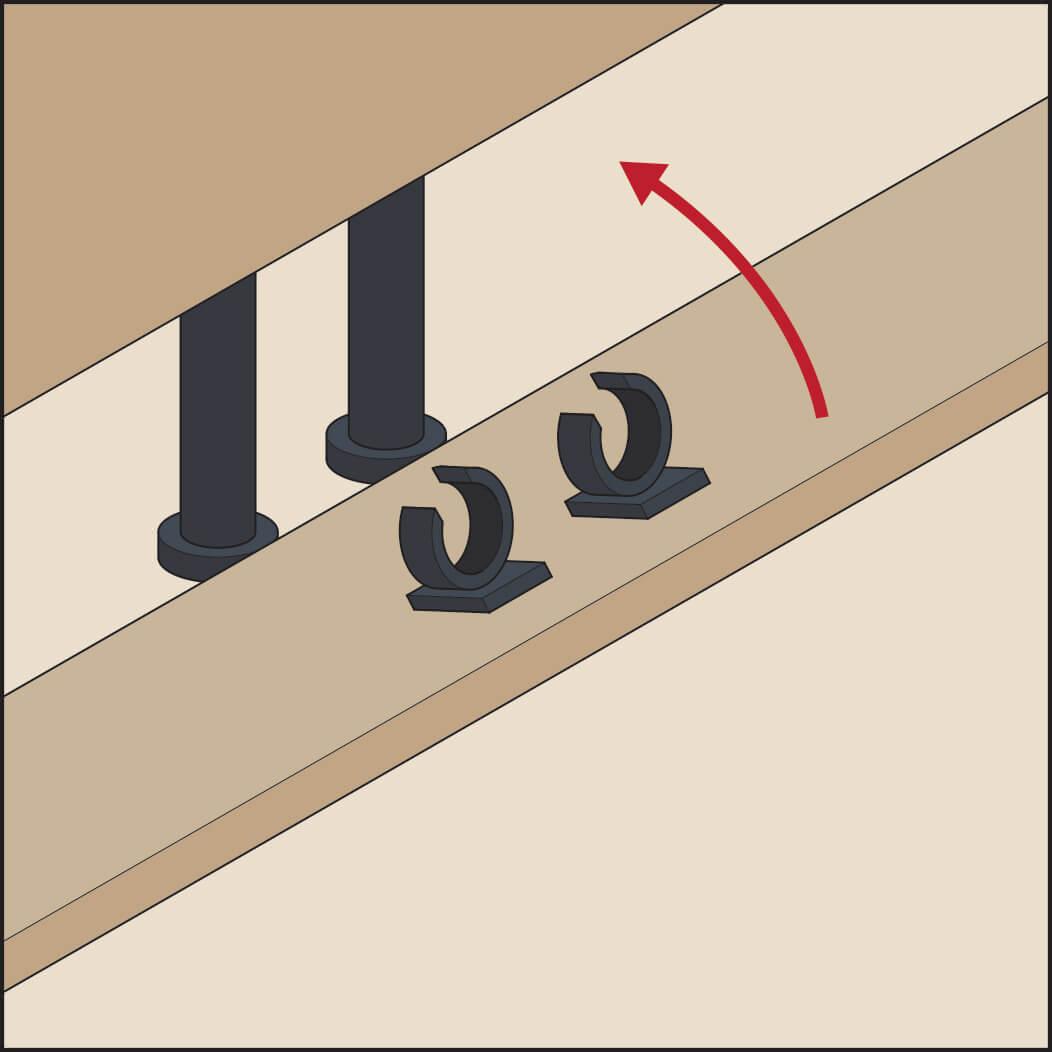
Finally, lift the plinth into position, starting from the bottom edge, and clip it onto the plastic leg using the horse-shoe clip.
Initial Measurements and Plinth Selection
- Measurement: Start by measuring the kitchen base units to find out how much plinth you'll need. If you have corner or return units, don't forget to measure these as well.
- Consider Plinth Lengths: Plinths usually come in lengths between 2.6 to 3 metres. Make sure to account for this when making your measurements, particularly if you wish to avoid joints.
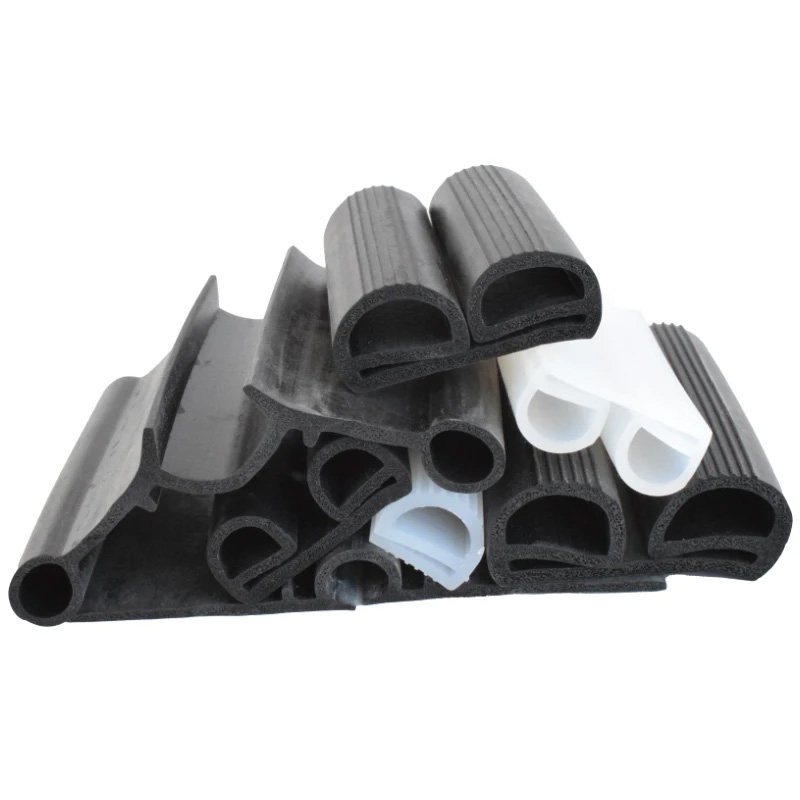
E type sealing strip
- Oversized Cutting: Once you have the measurements, cut the plinths to an oversized length. This will ensure that you don’t incorrectly use it elsewhere in the installation.
Types of Plinth Installations
The installation of your kitchen plinth will generally fall under one of four categories:
- Straight Run: This is the simplest form of plinth installation. Measure the exact length of the gap to be filled, and then cut the plinth accordingly.
- L-Shape: For an L-Shape, one of the two plinth sections should be approximately 50mm longer than the actual length required. This enables the plinth to continue under the units in the corner. The second piece is cut and installed in a similar way to a Straight Run section.
- U-Shape: This is similar to the L-Shape but requires two straight runs to complete the installation.
- Return Plinth: These are used when End panels are not installed and the plastic legs are visible. A Return Plinth can be joined by either a 45-degree mitre cut or a butt joint. Always remember to seal or apply edging material to the cut edge.
Pro Tip: A mitre saw will help you achieve precise cuts, particularly for angled installations like L-Shape or Return Plinths.
Preparing the Plinths
- Floor Level: If the floor is uneven, you may need to scribe the bottom of the plinth to the floor for a better fit.
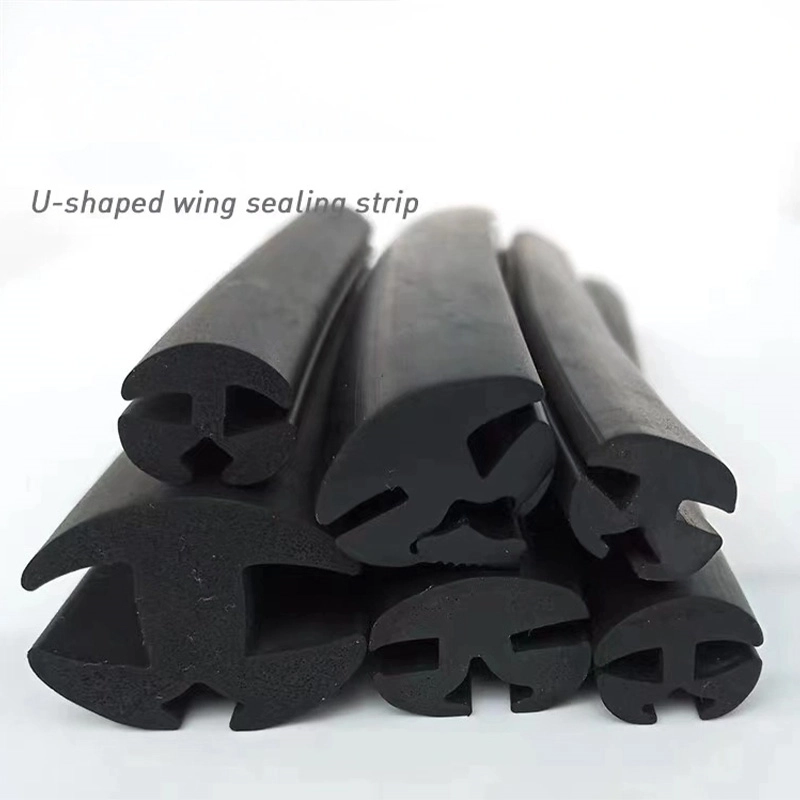
- Edge Sealing: Cut edges should be sealed or re-edged to eliminate the possibility of water ingress. Plastic plinth sealing strips can be an additional measure to prolong the plinth's life and provide a neat finish.
Discover a range of high-quality products at XINGTAI SHUODING TRADING CO., LTD. From calendaring machines to sealing strips, we cater to your diverse needs. For inquiries or quotations, please call +86-19803295498 or email us at sdtrading0927@126.com.
Share
-
The Ultimate Guide to Square Files for Precision WorkNewsJun.26,2025
-
The Power of Flat FilesNewsJun.26,2025
-
Revolutionize Your Craft with High-Performance Rotary FilesNewsJun.26,2025
-
Precision and Durability with Diamond-Coated Needle FilesNewsJun.26,2025
-
Essential Tools for Precision Work: Round Metal Files and MoreNewsJun.26,2025
-
Essential Tools for Precision Sharpening: Triangular FilesNewsJun.26,2025
